
Last updated October 17, 2026
 Wrought iron
 Wood & steel frame
 Farm & ranch
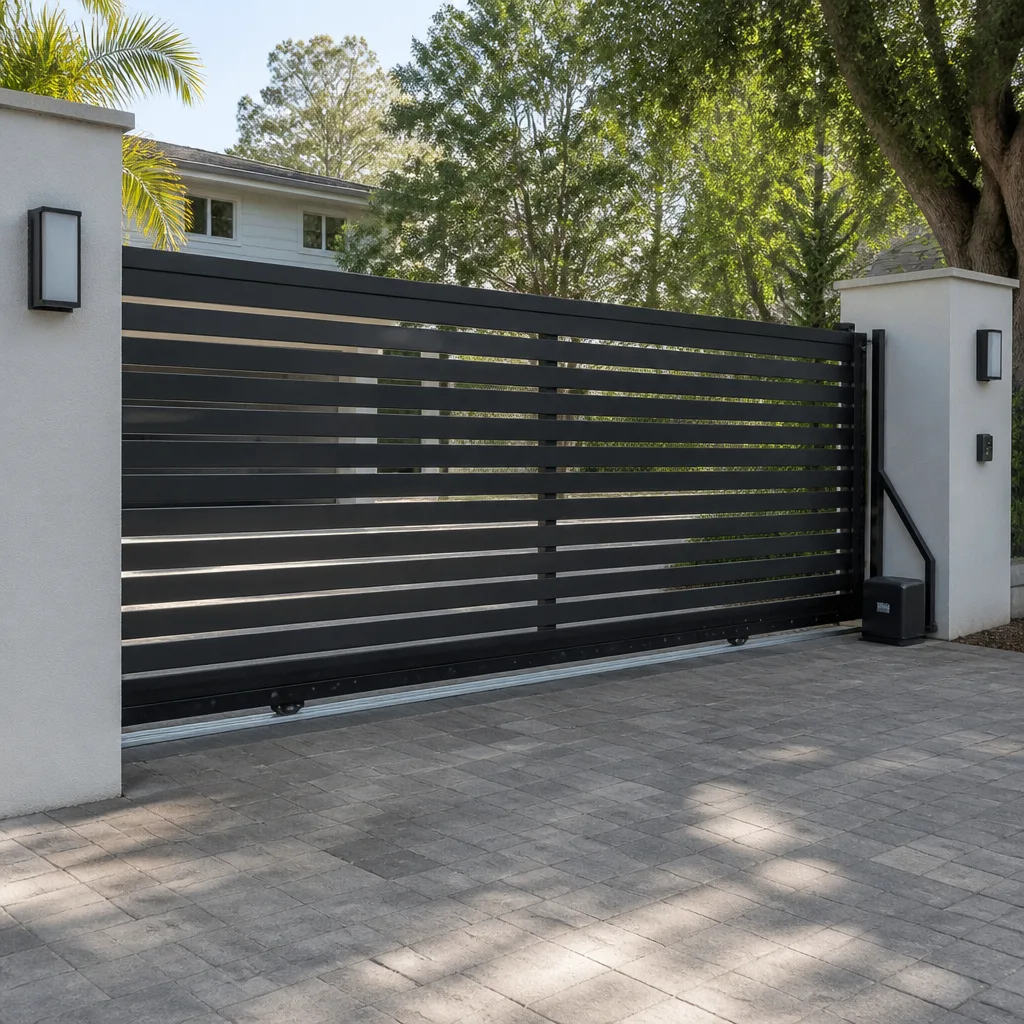 Sliding driveway gates
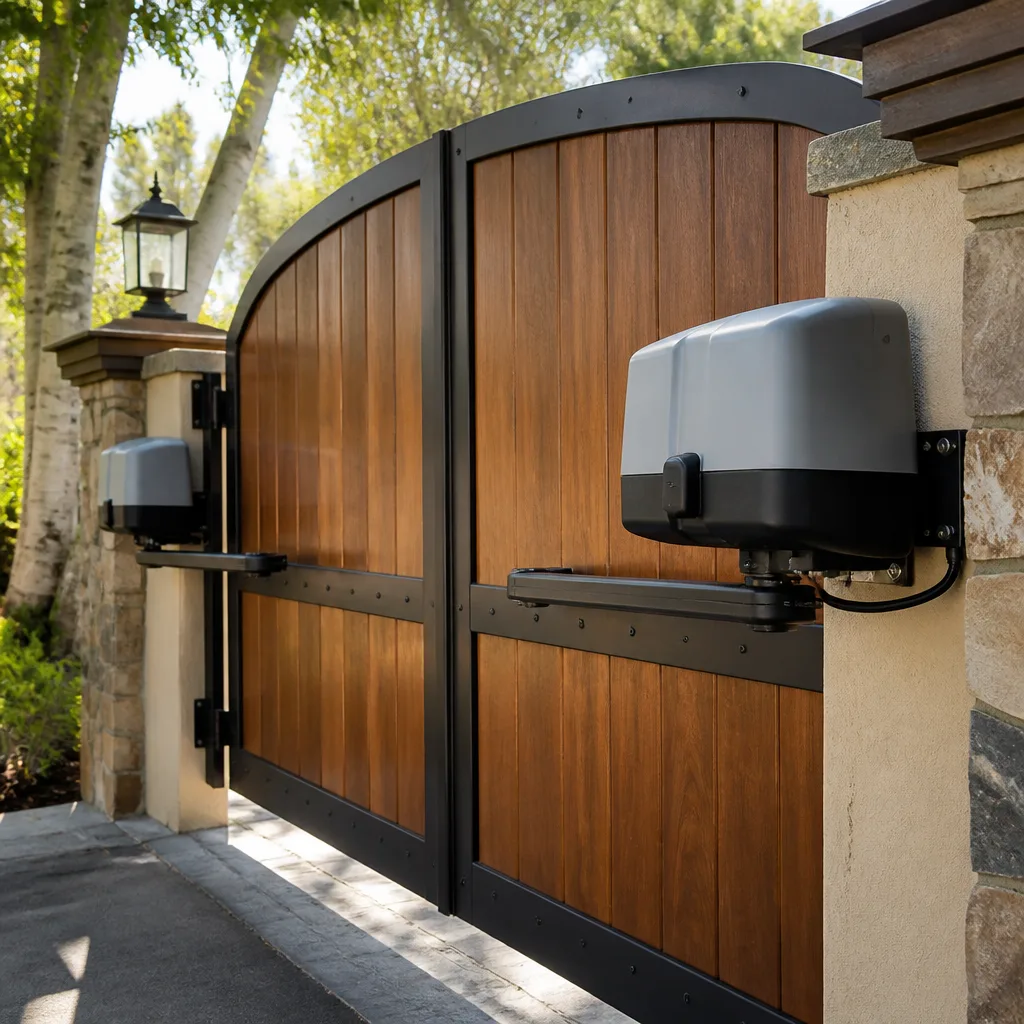 LiftMaster operators
Free on-site gate assessment - hinges, posts, and your LiftMaster or Nice gate operator checked before anything is quoted
The assessment is free and the quote is the invoice.
Get your free estimateDIY vs Professional Gate Repair: The Sacramento Homeowner’s Decision Guide
Here’s what surprises most Sacramento homeowners: the $14 latch kit from a home center fixes the latch, but it does not fix the reason the latch stopped working. In Sacramento, that reason is a shifting post about 60% of the time. The valley’s clay soil expands and contracts through our wet winters and dry summers, and that movement quietly pulls gates out of alignment. A homeowner replaces a latch, and within one season, the same gate won’t close again because the post has moved another fraction of an inch. This guide will help you figure out whether your gate problem is a $20 Saturday-morning fix or a $240 professional Gate Repair, before you spend money on the wrong one.
By the time you finish reading, you’ll know exactly which repairs are safe to attempt yourself, which ones you should never touch, and how to spot the difference in under ten minutes with a level.
Styles & brands we work with
Quick Answer
For most Sacramento gates, the DIY versus hire decision comes down to one question: has the post moved, or is the hardware simply worn out? If the post is plumb and the problem is a hinge pin or a latch mechanism, a confident homeowner can usually handle it. If the post has shifted, the hinge plate is pulling off the frame, or the gate is electric or part of a pool enclosure, call a professional, because the fix requires tools, code knowledge, and a diagnosis that a quick parts swap won’t solve. Most standard gate-latch replacements in Sacramento run between $120 and $280, and you’ll see the exact number in writing before any work starts.
Table of Contents
- The Rule of Thumb: What Actually Determines DIY Feasibility
- The Diagnostic Step Most Homeowners Skip
- The Six-Repair Decision Matrix: What to Do Yourself and What to Hand Off
- The Real Cost of a Failed DIY Gate Repair in Sacramento
- Three Times Hiring a Pro Is the Financially Conservative Choice
- What a Professional Gate Repair Visit Should Look Like
- Sacramento Climate and Your Gate: Why the Valley Is Harder on Posts
- Electric Gate Repair: Why This Is Not a DIY Project
- Common Mistakes to Avoid
- When to Call a Professional
- Frequently Asked Questions
- The Bottom Line
The Rule of Thumb: What Actually Determines DIY Feasibility
Skill level matters less than you’d think. We’ve met engineers who stripped a hinge bolt on a Saturday and retired teachers who replaced a latch in twenty minutes without a problem. The variable that predicts success is simpler: is the root cause visible and isolated to a single component?
A worn hinge pin is visible. You can see the gate sag, you can see the pin wobble, you can see exactly where the wear has happened. The repair is contained to a part you can remove and replace. A latch that sticks because the post has shifted is not visible. The latch looks fine. The problem is underground, in the concrete footing, and no latch replacement will hold for long.
Here’s the mental model we use on every gate we look at:
- Visible and isolated: The worn part is obvious, and the rest of the gate structure is square and plumb. This is candidate DIY territory.
- Visible but structural: The worn part is obvious, but something bigger has moved. The gate frame, the post, or the concrete footing. This is not DIY territory, because fixing the visible part without fixing the structural cause just means doing the repair twice.
- Invisible or electric: The cause is hidden inside a motor, a control board, or a safety sensor. Professional only.
In Sacramento specifically, the second category is larger than in many other parts of California. Our clay-heavy soil moves. Posts settle, lean, and twist. A gate that was perfectly plumb when installed in April can be out of square by September, not because anything broke, but because the ground did what Sacramento ground does. If you grew up here, you’ve seen the cracks in the soil in August. Your gate post sits in that soil.
The rule of thumb for any repair: if the problem is a single worn part and the surrounding structure is square, consider DIY. If the problem is a symptom of a larger movement, or the cause isn’t visible, get a professional diagnosis before spending money on parts.
The Diagnostic Step Most Homeowners Skip
Before you buy a single part, do this: hold a 4-foot level against the gate post itself, then hold it against the gate frame. Do not skip this step. It takes two minutes, and it tells you whether you’re fixing hardware or fixing structure. And if you’re looking for a deeper look at the repair services available, our Gate Repair in Sacramento guide covers what’s involved in both.
Here’s the sequence:
- Place the level vertically against the hinge post. The post should read plumb on both sides. If the bubble is centered, the post hasn’t moved.
- Place the level vertically against the gate frame, near the latch side. If the gate frame is out of plumb but the post is fine, the hinges or the frame itself have loosened or twisted.
- Place the level horizontally across the top rail of the gate. If the top rail is level but the gate sags at the latch side, the hinge hardware is worn, not the frame.
The result of this two-minute check determines whether you’re looking at a $20 hinge pin replacement or a $240 post re-plumbing. We can’t count how many Sacramento gates we’ve seen where the homeowner spent a weekend and $40 on new hardware, only to call us because the gate still wouldn’t latch. The post had moved. The level would have told them that before they spent the money.
One more check worth doing: open the gate halfway and let go. If the gate swings open or closed on its own, the post is leaning. A properly plumb gate will stay wherever you put it. If it drifts, the hinge side is no longer vertical, and that’s a footing problem, not a hardware problem.
This diagnostic step is free, takes less than five minutes, and correctly routes about eighty percent of gate repairs into the right category: DIY, or call someone.
The Six-Repair Decision Matrix: What to Do Yourself and What to Hand Off
Here’s the framework we use when a Sacramento homeowner asks us whether they should tackle a gate repair themselves, and you can find our Gate Repair Maintenance Checklist for Sacramento Homeowners for seasonal upkeep. We’ll score each one on DIY feasibility and explain the reasoning. Please read all six. The ones that look simplest are often the ones that cost the most to fix incorrectly.
1. Hinge Pin Replacement: High DIY Feasibility
This is the classic first gate repair. The pin wears, the gate sags, the latch no longer lines up. If the post is plumb and the hinge plates are still firmly attached to the post and the frame, replacing the pin is a straightforward job. You’ll need a hammer, a punch or an old screwdriver, and a replacement pin of the same diameter. The total cost is usually under $25. The entire job takes less than an hour. This is the repair we tell homeowners to attempt if they want the satisfaction of fixing it themselves.
Caveat: if the hinge plate itself is bent, cracked, or pulling away from the post, this is no longer a pin replacement. Stop and reassess. You’re now in structural territory.
2. Full Hinge Plate Swap on a Steel Frame: Medium DIY Feasibility
Replacing an entire hinge plate on a steel gate frame is possible for a homeowner with an angle grinder, a drill, and patience. The challenge is alignment. If the new plate goes on even an eighth of an inch off from the old one, the gate will bind, the latch won’t line up, and you’ll need to redo the work. On a wooden gate, the margin for error is a little larger because wood compresses. On steel, there’s no forgiveness.
We’d rate this medium. It’s not dangerous. It’s just finicky, and the most common outcome we see is a homeowner who gets the plate on, discovers the gate no longer closes smoothly, and then calls us to undo and redo the work. If you do attempt this, mark the exact outline of the old plate with a paint marker before you remove it.
3. Post Re-Plumbing: Low DIY Feasibility
This is the one we want Sacramento homeowners to understand clearly. Re-plumbing a gate post means digging out the concrete footing, resetting the post so it’s exactly vertical, and pouring new concrete. It sounds simple in theory. In practice, it requires a post-hole digger or a jackhammer for the old footing, bags of fast-setting concrete mixed correctly, braces to hold the post perfectly plumb while the concrete cures, and the judgment to know whether the post can be saved or needs replacement.
And it’s the repair most Sacramento gates eventually need, because of our soil. The clay expands in winter and contracts in summer, and over enough seasons, posts that were set shallow or without enough concrete will move. If you get the post even slightly out of plumb and concrete it in, the gate will never hang right again without another dig. This is the one we tell every homeowner to hand off.
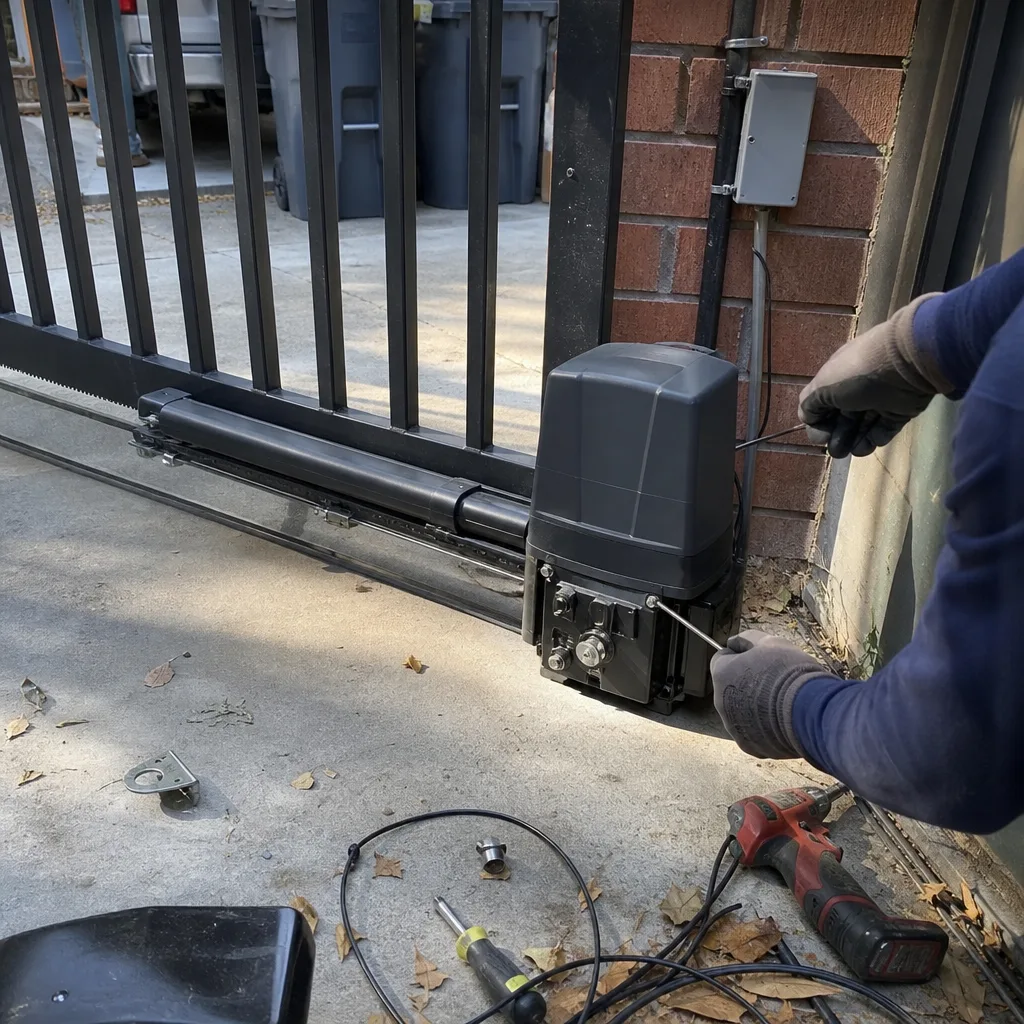
4. Electric Operator Adjustment: Medium DIY Feasibility
Adjusting the open and close limits on a gate operator is something a homeowner can do with the manual and a screwdriver. On many Viking, Ghost Controls, and Linear operators, the limit adjustment is a simple turn of a potentiometer or a programming sequence through the control board. The risk isn’t the adjustment itself; it’s what you might do while inside the control box.
Electric gate systems have capacitors that hold a charge even with the power off, and they have safety sensors that need to be tested against current code requirements after any adjustment. If you’re comfortable with the manual and you stick strictly to the instructions, this is a reasonable DIY task. If the manual is missing or the adjustments don’t resolve the problem, stop. A misadjusted operator can crush a child or a pet. That’s not hyperbole, and it’s why we handle electric gate repairs with the care they deserve. For homeowners in the area, our Electric Gate Repair in Sacramento page explains more about what we service.
5. Weld Repair: Professional Only
We’re going to be direct here. Welding a gate frame or a hinge plate requires a welder, proper protective gear, and the skill to produce a structurally sound bead. Most homeowners don’t own the equipment, and buying it for a single repair costs more than the professional repair would. More importantly, a bad weld on a gate hinge can look fine and fail suddenly under load. A 200-pound gate falling on a child is not a trade-off for saving a couple hundred dollars. This is professional-only, no exceptions.
6. Pool Gate Self-Close Calibration: Professional Only, Code Implications
If your gate serves as part of a pool enclosure, it must self-close and self-latch to meet California pool safety code. The exact requirements are specific: the gate must close from any position, the latch must be at a certain height, and the closing force and speed must meet standards. Calibrating the self-close hinges or spring tension correctly enough to pass a code inspection is not a homeowner-friendly task, and the consequence of getting it wrong isn’t a sagging gate. It’s a child’s safety.
The same applies if the gate is part of a multi-family property or a commercial property with regulated access. If code is involved, the professional is the conservative choice from both a safety and a financial perspective. A failed inspection means redoing the work correctly, and the city doesn’t care that you tried.
The Real Cost of a Failed DIY Gate Repair in Sacramento
Let’s walk through the actual math of a DIY gate repair that goes wrong-detailed further in our Gate Repair Cost Breakdown: The Sacramento Homeowner’s Reference for 2026-because the failure cost is almost never just the cost of the parts you bought. It’s the parts, the damage, the diagnosis, and the professional repair that should have been done the first time.
Here’s a real example we see regularly in Sacramento, and this is a good time to mention our Latch and Post Gate Repair Sacramento home base of operations. This example is exactly the kind of case that makes up our weekday afternoon calls:
A homeowner notices the gate latch isn’t catching. The gate closes, but it won’t stay closed. They go to a home center and buy a replacement latch kit for $18. They install it, and for a few weeks, everything seems fine. Then the gate starts to sag again. Now the hinge pin is bent from the extra stress of supporting a gate whose latch is pulling it out of square. The homeowner buys a second latch kit for $22, replaces it, and the gate still won’t stay closed.
At this point, they call us. We arrive and find the post has drifted off plumb, probably five degrees of lean driven by a season of clay movement. The latch was never the problem. The post was. Now the bill includes:
- The two DIY latch kits: $40 total
- The new hinge pin that bent because the post was off: $28
- The professional diagnosis: usually rolled into the repair cost, $79 to $129 if it’s a standalone visit
- The actual post re-plumbing and new latch: $220 to $340
The failed DIY attempt added between $190 and $310 in avoidable expense, plus the frustration of two weekends spent on a repair that didn’t work. The level test would have caught the post problem in two minutes. That’s the value of diagnosis before parts. And at our company specifically, the written price means that professional repair cost would’ve been in their hand before we touched anything, not discovered after the work was done.
Not every DIY attempt fails. But when it fails, it fails expensively, and the most expensive failures are the ones where the root cause was structural all along.
Three Times Hiring a Pro Is the Financially Conservative Choice
We’re not going to tell you to never DIY a gate repair. That would be dishonest. There are real repairs a homeowner can do well. But there are three specific scenarios where hiring a professional is the frugal choice, even for a homeowner who has a full workshop and knows how to use it.
1. Any Repair Touching an Electric Operator’s Logic Board
If the problem is behind the cover of the control board, the repair is now an electronic diagnosis. Testing capacitors, tracing circuits, and verifying safety sensor inputs requires a multimeter, the brand-specific service documentation, and experience with the failure patterns of that specific operator. A homeowner who replaces a control board without diagnosing the underlying short can fry the new board on the first power-up. That’s a $150 to $400 mistake on top of the original problem, which is likely still there.
2. Any Repair on a Gate That Is Part of a Pool Enclosure
California code has specific, enforceable rules about pool gates. Self-close from any position. Self-latch. Proper latch height. Proper clearance from the ground. If your gate doesn’t meet those standards and there’s an incident, the liability falls on you as the homeowner. A professional repair that meets code is an insurance policy. A DIY repair that doesn’t meet code is a risk not worth taking.
3. Any Repair Where the Post Has Visibly Moved
If the level shows the post out of plumb, the repair is no longer a hardware swap. It’s a concrete job, plus new hardware, plus a calibration to get the gate closing smoothly again. The professional has done this hundreds of times and owns the right cutting, digging, bracing, and mixing equipment. The homeowner will spend more on tool rentals and materials than the professional charges, and the result will still be a gate that’s not quite right. That’s the opposite of saving money.
In these three scenarios, the financially conservative choice is the professional, every time. Not because of fear, but because the expected cost of the DIY attempt is higher than the professional quote. If you’re looking at a full replacement rather than a repair, our Gate Installation in Sacramento page walks through what a new gate project involves.
What a Professional Gate Repair Visit Should Look Like
If you’ve read this far and decided your gate repair belongs in professional hands, you should know what to expect from a careful contractor before one arrives, and explore our more guides & resources to stay informed. Here’s what we do on every visit, and what you should hold any contractor to.
Before any work starts, you get a written price. Not a verbal estimate, not a “we’ll see when we get in there.” A written number that reflects what needs to be done, and that number is agreed before the first tool comes out. If a contractor won’t put a price in writing before starting, that’s a signal to look elsewhere.
When the technician arrives, they should arrive in a uniform and with identification. They should ask before entering your yard or home, and they should protect the path between the gate and wherever they need to go. For us, that means shoe covers and drop cloths on every visit, every single time, without being asked. Floors stay clean. That’s non-negotiable.
During the work, the technician should be willing to answer questions and explain what they’re doing. Not in a way that talks down to you, but in a way that leaves you understanding your gate better than before. If you have kids napping, the technician should use quiet tools where possible. If you have pets, the technician should choose pet-safe lubricants where there’s a choice. These small things signal that the contractor treats your home the way they’d treat their own.
At the end of the visit, you should receive a photo of the clean-up. Not a verbal “it’s all tidied up,” but a photo showing the work area cleaned and the old parts removed. And if anything isn’t right within the year, the repair should be covered by a guarantee that means what it says. The 365-Day Done Right Promise covers every repair and installation we do. If it’s not done right, we make it right. No argument, no fine print.
Every gate comes down to two parts: the latch that holds it and the post that carries it. That’s the job we focus on.
Sacramento Climate and Your Gate: Why the Valley Is Harder on Posts
Sacramento gates face conditions that gates in coastal California don’t. Our summer heat bakes the metal and the wood. Our winter rains saturate the soil. The soil itself, a mix of clay and silt that runs under many of our older neighborhoods, expands when wet and contracts when dry. Over a single year, a post set in shallow concrete can move enough to knock a gate out of alignment. Over five years, that same post can lean several degrees off plumb.
This isn’t a builder-defect issue. It’s a geology issue. The same clay soil that cracks your garden beds in August is under your gate post, and every wet winter followed by a dry summer applies hydraulic pressure sideways against the concrete footing. Posts set with inadequate concrete depth, or set without drainage consideration, are the ones that drift first. Homes in older parts of Sacramento, where gate footings were often poured before current standards, are more vulnerable.
The practical takeaway for a Sacramento homeowner: if your gate was working well two seasons ago and now the latch doesn’t line up, don’t assume the latch wore out. Assume the post moved. Check it with a level. In our experience, six times out of ten, that’s exactly what happened. And if the post has moved, the only permanent fix is re-plumbing the post in a properly sized footing.
When we re-plumb a post in Sacramento, we dig the old footing out completely rather than trying to shore it up. We use a concrete mix suited to our clay soil, and we set the post deep enough that seasonal movement won’t pull it off vertical again. The goal is a gate that closes perfectly in February and in August, and that’s achievable with the right footing. It’s not achievable with a bigger latch.
Electric Gate Repair: Why This Is Not a DIY Project
Let’s talk about electric gates specifically, because the DIY conversation changes completely when 120-volt power and moving metal are involved.
Electric gate systems include a motor, a control board, safety sensors, a battery backup in many cases, and the mechanical drive system that moves the gate. The logic board in a Viking or a DoorKing operator manages inputs from the remote, the keypad, the safety sensors, and the limit switches. When something in that system fails, the problem is rarely a loose wire. It’s a component that has worn out, a sensor that has drifted out of alignment, or a board that has failed due to heat or a power surge.
Diagnosing these failures requires opening the control box, and the control box contains capacitors that store a charge even after the system is unplugged. A homeowner who opens the box without discharging the capacitors can get a shock that’s genuinely dangerous. A homeowner who disconnects a safety sensor and runs the gate without it creates a gate that can close on a person. These are not hypothetical scenarios. They’re the reasons that electric gate repair certification exists.
If your electric gate won’t open or close, the responsible DIY step is the basic one: check that the operator is receiving power, check that the breaker hasn’t tripped, and check that the remote battery is fresh. If those checks don’t resolve the problem, the issue is inside the system, and inside the system is where professional diagnosis begins. The cost of a professional diagnosis is almost always less than the cost of a homeowner guessing at parts and replacing them one by one.
And if your electric gate is part of a pool enclosure, the safety stakes are higher still. The gate must pass code inspection, and the repair must meet the same standard as a new installation. There’s no scenario where a homeowner should attempt that repair themselves.
Common Mistakes to Avoid
- Replacing the latch before checking the post. This is the most common mistake we see in Sacramento, and it almost always leads to a second repair within a season. Two minutes with a level saves the cost of the first repair.
- Greasing a hinge to fix a sag. Grease reduces friction, but it doesn’t return a bent hinge pin or a leaning post to square. If the gate sags, lubricant makes it swing more easily while it’s still sagging, which accelerates the wear.
- Welding a gate frame without bracing it first. Welding heat warps thin steel. A gate that wasn’t braced square before welding comes out of the weld looking like a potato chip in miniature. This is why we brace every weld, every time.
- Concreting a post without checking plumb in both directions. A post that’s plumb front-to-back but leaning left-to-right produces a gate that opens on its own or slams shut. Both directions must be checked before the concrete goes in.
- Adjusting electric gate limits without testing the safety sensors. A gate that closes fully but crushes the safety sensor creates a worse problem than the one you started with. The sensor test is not optional after any limit adjustment.
- Ignoring the gate’s ground clearance. Sacramento yards settle, and a gate that scrapes the ground is a sign that either the hinges are sagging or the path has risen. Adding a bigger latch won’t fix a gate that can’t physically move through its arc.
When to Call a Professional
Call a professional when the post has moved, when the gate is electric, when the gate serves a pool enclosure, or when you’ve already tried a DIY fix and the gate still isn’t right. These are the scenarios where the problem is deeper than a single worn part, and where a failed repair costs more than a professional one would have. A professional diagnosis costs less than a wrong guess. Gate Repair in Sacramento is available with a written price before any work begins. Latch and Post Gate Repair Sacramento offers free estimates in Sacramento and answers every call with a live person. Call (279) 266-8501 to schedule a visit.
Frequently Asked Questions
Most gate repairs in Sacramento run between $120 and $340, depending on whether the job is a simple hardware replacement or a post re-plumbing. Latch replacements typically run $120 to $280, hinge pin replacements $90 to $180, and post re-plumbing $220 to $340 and up depending on the size of the post and the condition of the footing. You’ll see the exact number in writing before any work starts. Call (279) 266-8501 for a free estimate on your specific gate.
It depends on why the gate is sagging. If a hinge pin is worn and the post is plumb, yes, replace the pin and the gate will sit square again. If the post has moved off plumb, no, the only permanent fix is re-plumbing the post in its footing, and that’s a professional job. Check the post with a level before you buy any parts. If the gate drifts on its own when opened halfway, the post is leaning and the job is beyond DIY.
Sacramento’s clay-heavy soil expands in wet winters and contracts in dry summers, and that seasonal movement applies sideways pressure to gate post footings. Posts that were set shallow or with inadequate concrete drift out of plumb over time, and the gate latch stops lining up. In our experience, about sixty percent of Sacramento latch problems trace back to a drifted post, not a worn latch.
No. Electric gate operators contain capacitors that store a charge even after the power is off, and the systems include safety sensors that must be tested to code after any adjustment. A misadjusted gate can close on a person or pet. Check the breaker and the remote battery, and if the problem persists, call a professional who’s trained on the specific operator brand.
A careful professional visit includes a written price before work starts, shoe covers and drop cloths to protect your floors, a clean-up before the technician leaves, and a clear explanation of what was done and why. You should also get a guarantee on the work. Our 365-Day Done Right Promise covers every repair and installation, and our technicians follow the Cedarwell C.A.R.E. values: clean up like it’s our own home, ask before we move anything, respect the family’s time and quiet hours, and explain the price before the work.
Most hinge and latch repairs take under two hours on site. Post re-plumbing takes longer because the concrete needs time to cure before the gate can be re-hung and calibrated, usually a half-day job with a curing wait. Electric gate diagnosis typically takes sixty to ninety minutes, and if a part needs to be ordered from Viking, Ghost Controls, Linear, or DoorKing, the follow-up visit is scheduled once the part arrives.
The Bottom Line
The DIY versus professional decision for a Sacramento gate comes down to one diagnostic question, and it costs nothing to ask: has the post moved? If the post is plumb and a single visible part is worn, the repair is a reasonable DIY project. If the post has drifted, the gate is electric, or the gate serves a pool enclosure, the financially conservative choice is a professional, and the safest one. Check the post with a level before you buy any parts. If you find the post has moved, or you’d rather hand the whole problem to someone who deals with Sacramento soil every season, Latch and Post Gate Repair Sacramento is here. Call (279) 266-8501 for a free estimate, and we’ll give you a written price before any work begins.
Written by Cody Beckman, Owner at Latch and Post Gate Repair Sacramento, serving Sacramento since 2009.
See the difference
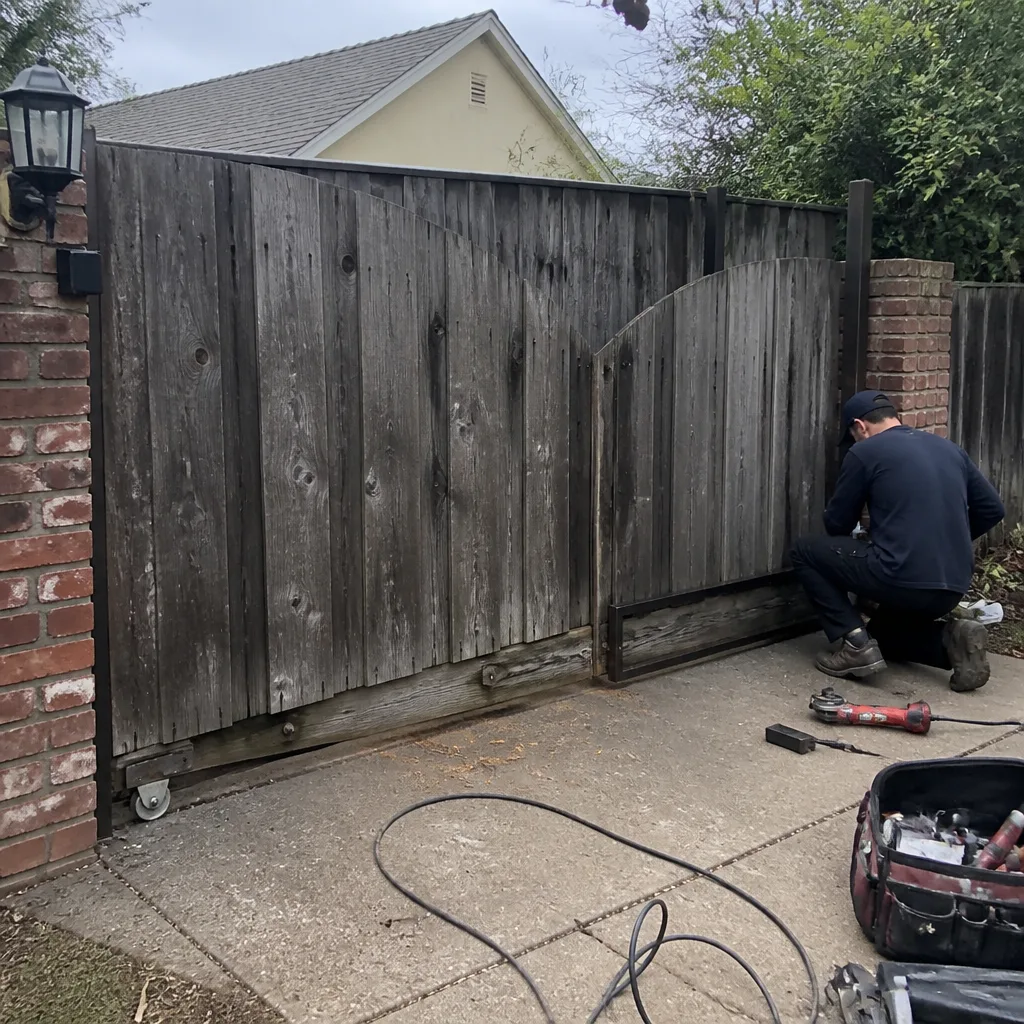 Before
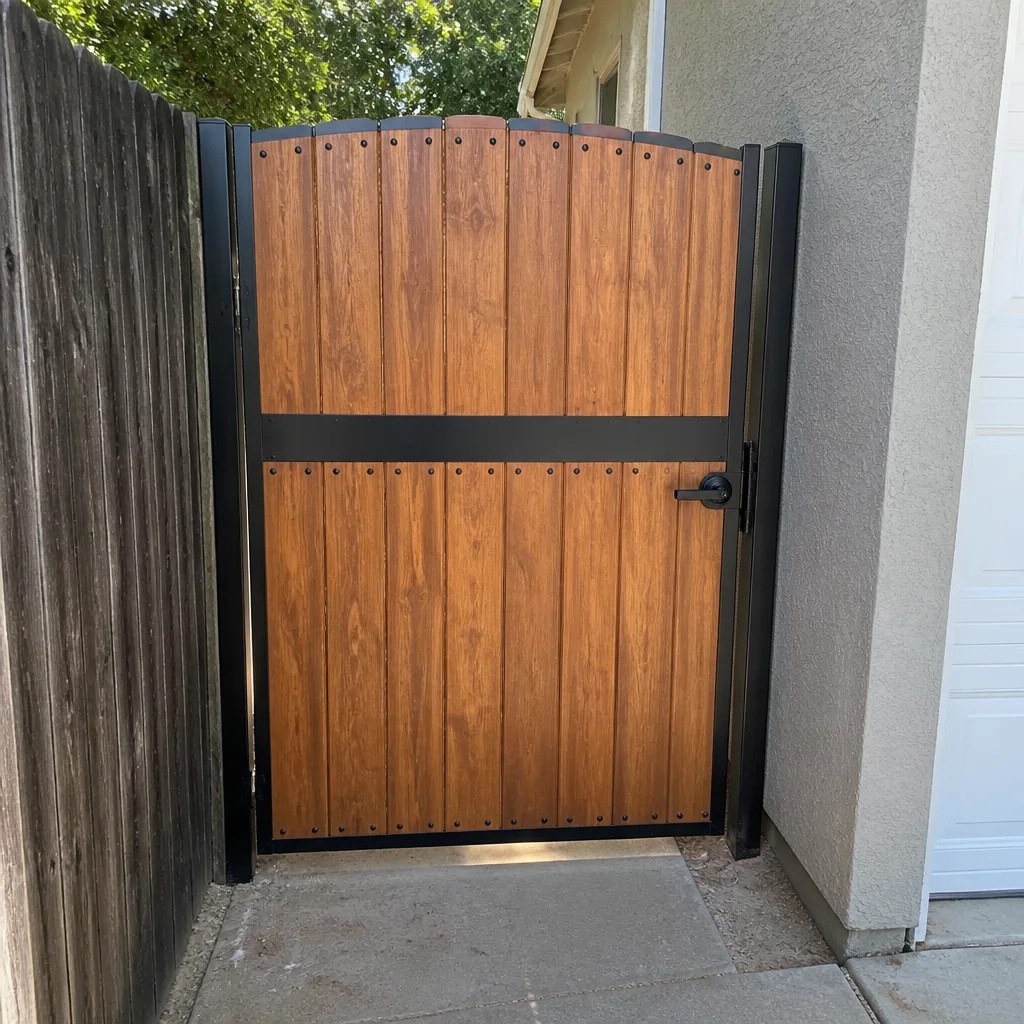 After
After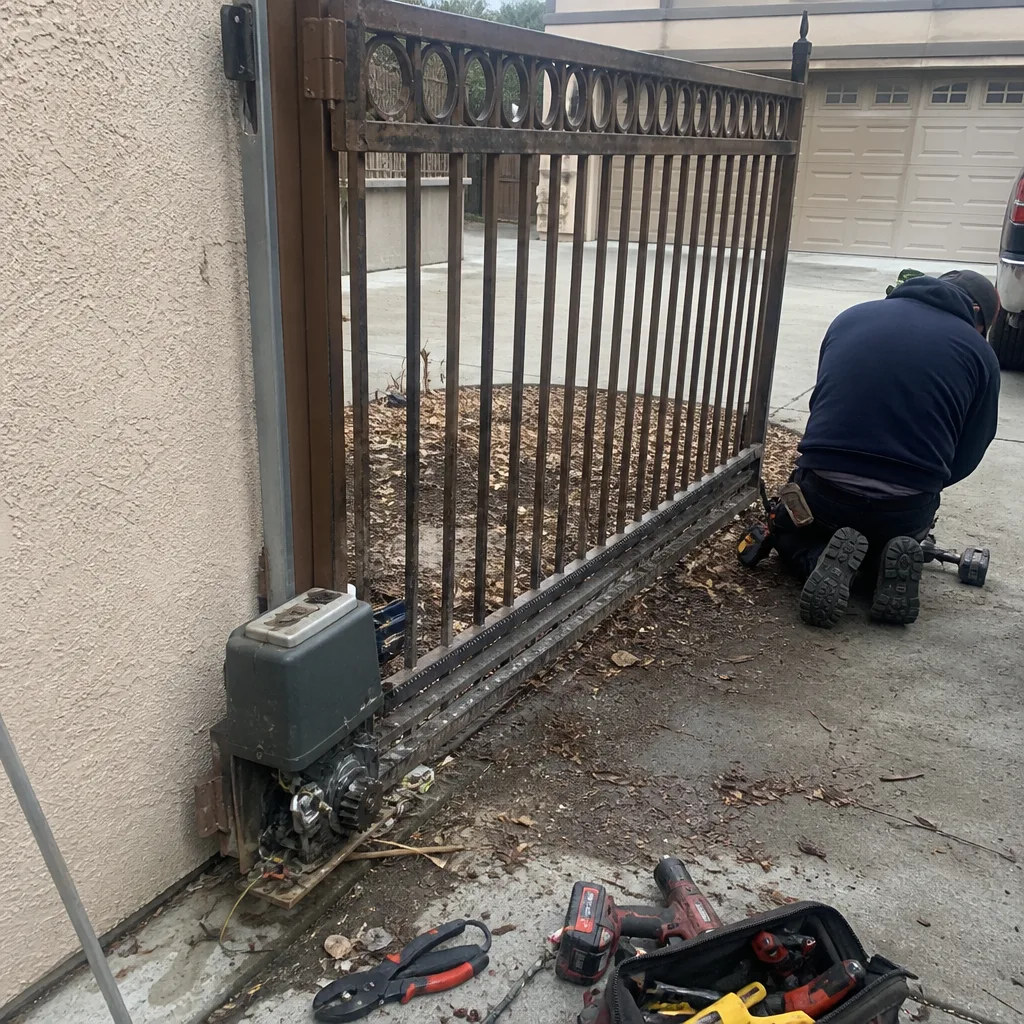 Before
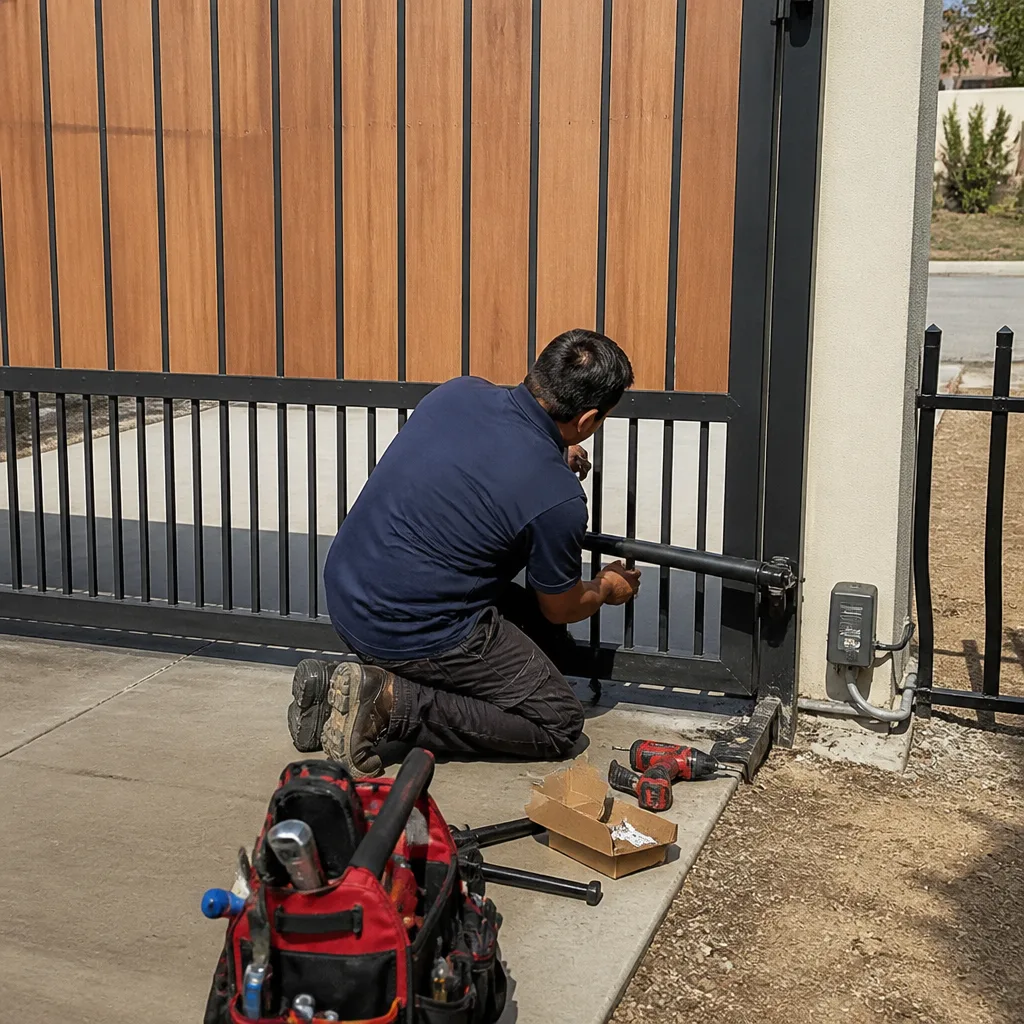 After
After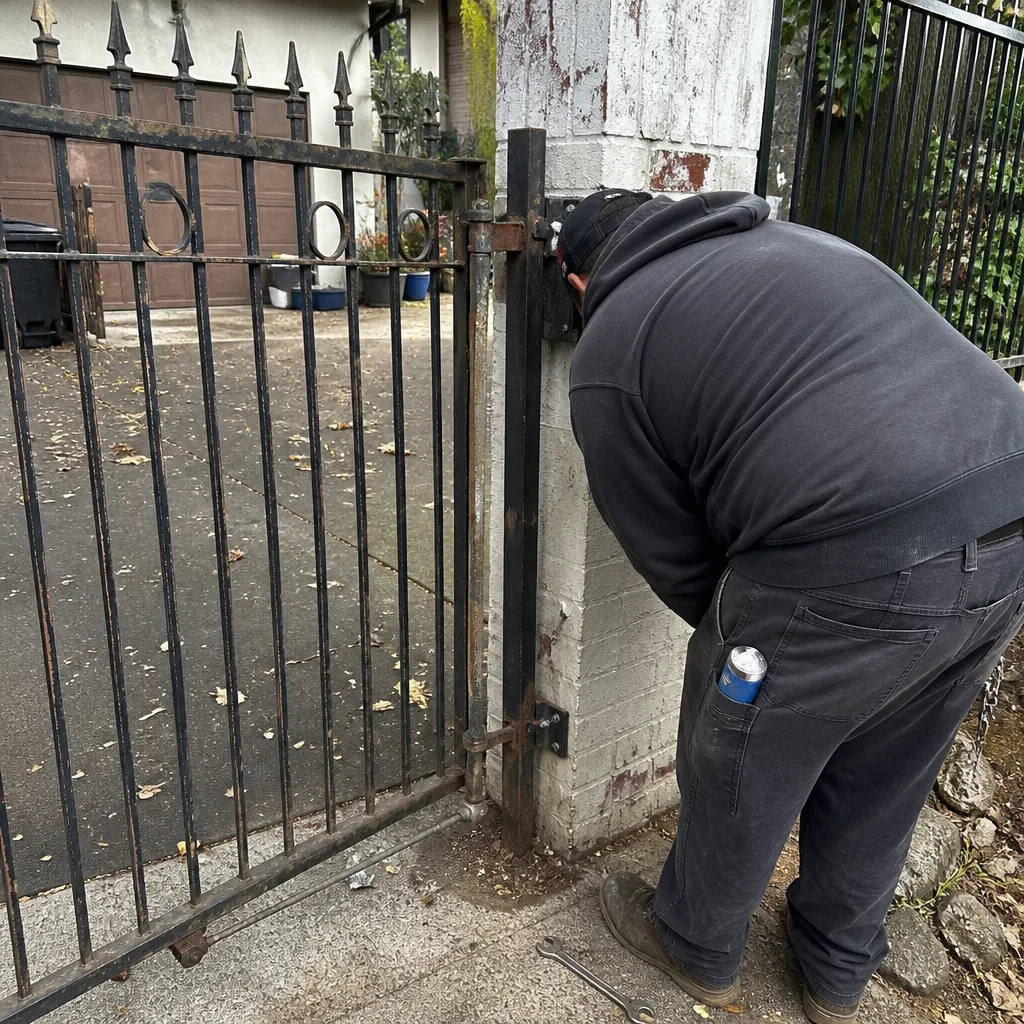 Before
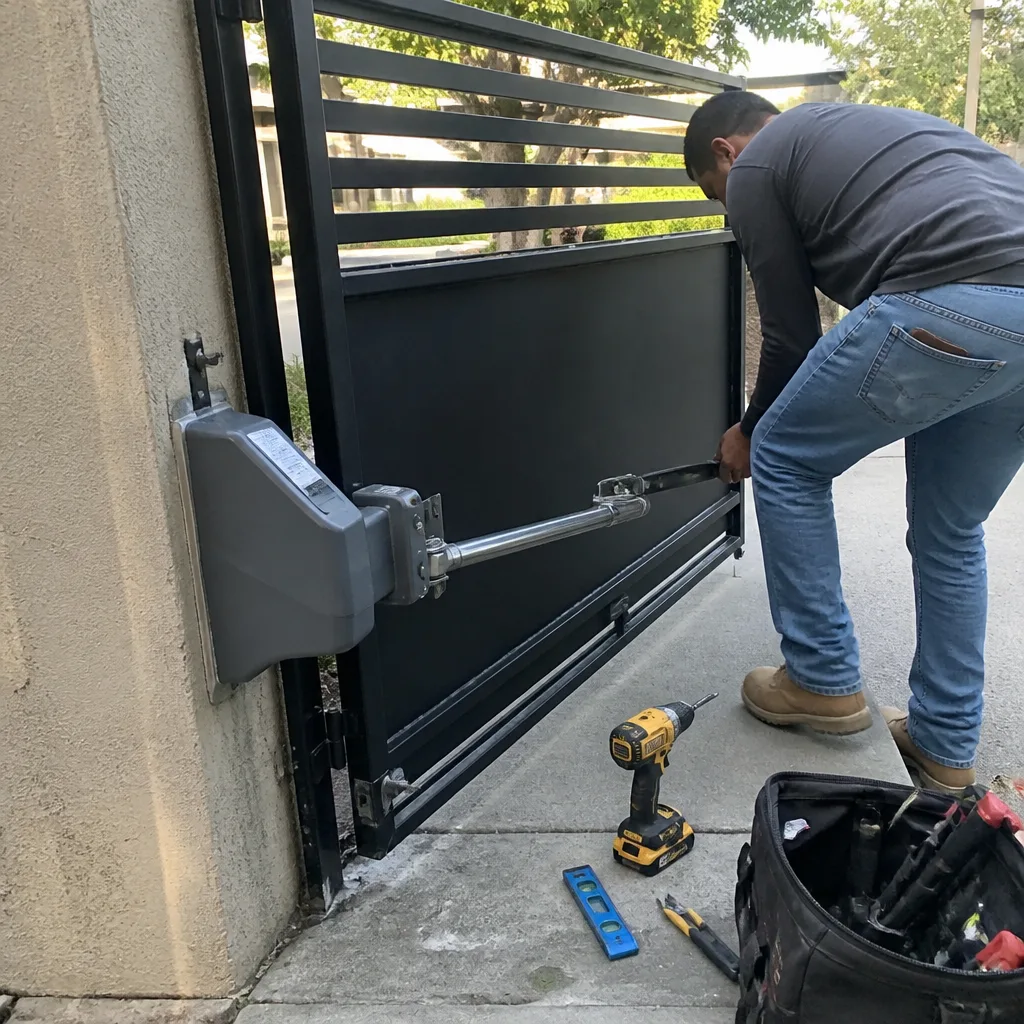 After
After